A few months ago, I'd taken to a new hobby - shirtprinting. After working for a while as a print shop specialist, I'd gained an appreciation for printers, and wanted to see what my little $120 machine was capable of doing.
It doesn't take much to get started. Beyond the "equipment" you'll need - a clothes iron, and a printer - the material is inexpensive. One of the greatest bits about it is the fact that you can use any old shirt. In fact, you can easily refresh an old garment with a cheeky graphic, while having a bit of fun as you do it.
The easiest, and most accessible form of customizing clothing is as aforementioned - shirt transfers using a printer and clothes iron. All you'll need is a few transfer sheets, which can be had at a rate of 15 CAD for a set of 10 or so. Even cheaper in the U.S. of A..
Similarly, a printer and a clothes iron (which I would be confident in saying most people have), can be obtained from a thrift store for a total of $10 each. If you refer to my printer ink refilling tutorial, you can also see how the printing step can be made even cheaper.
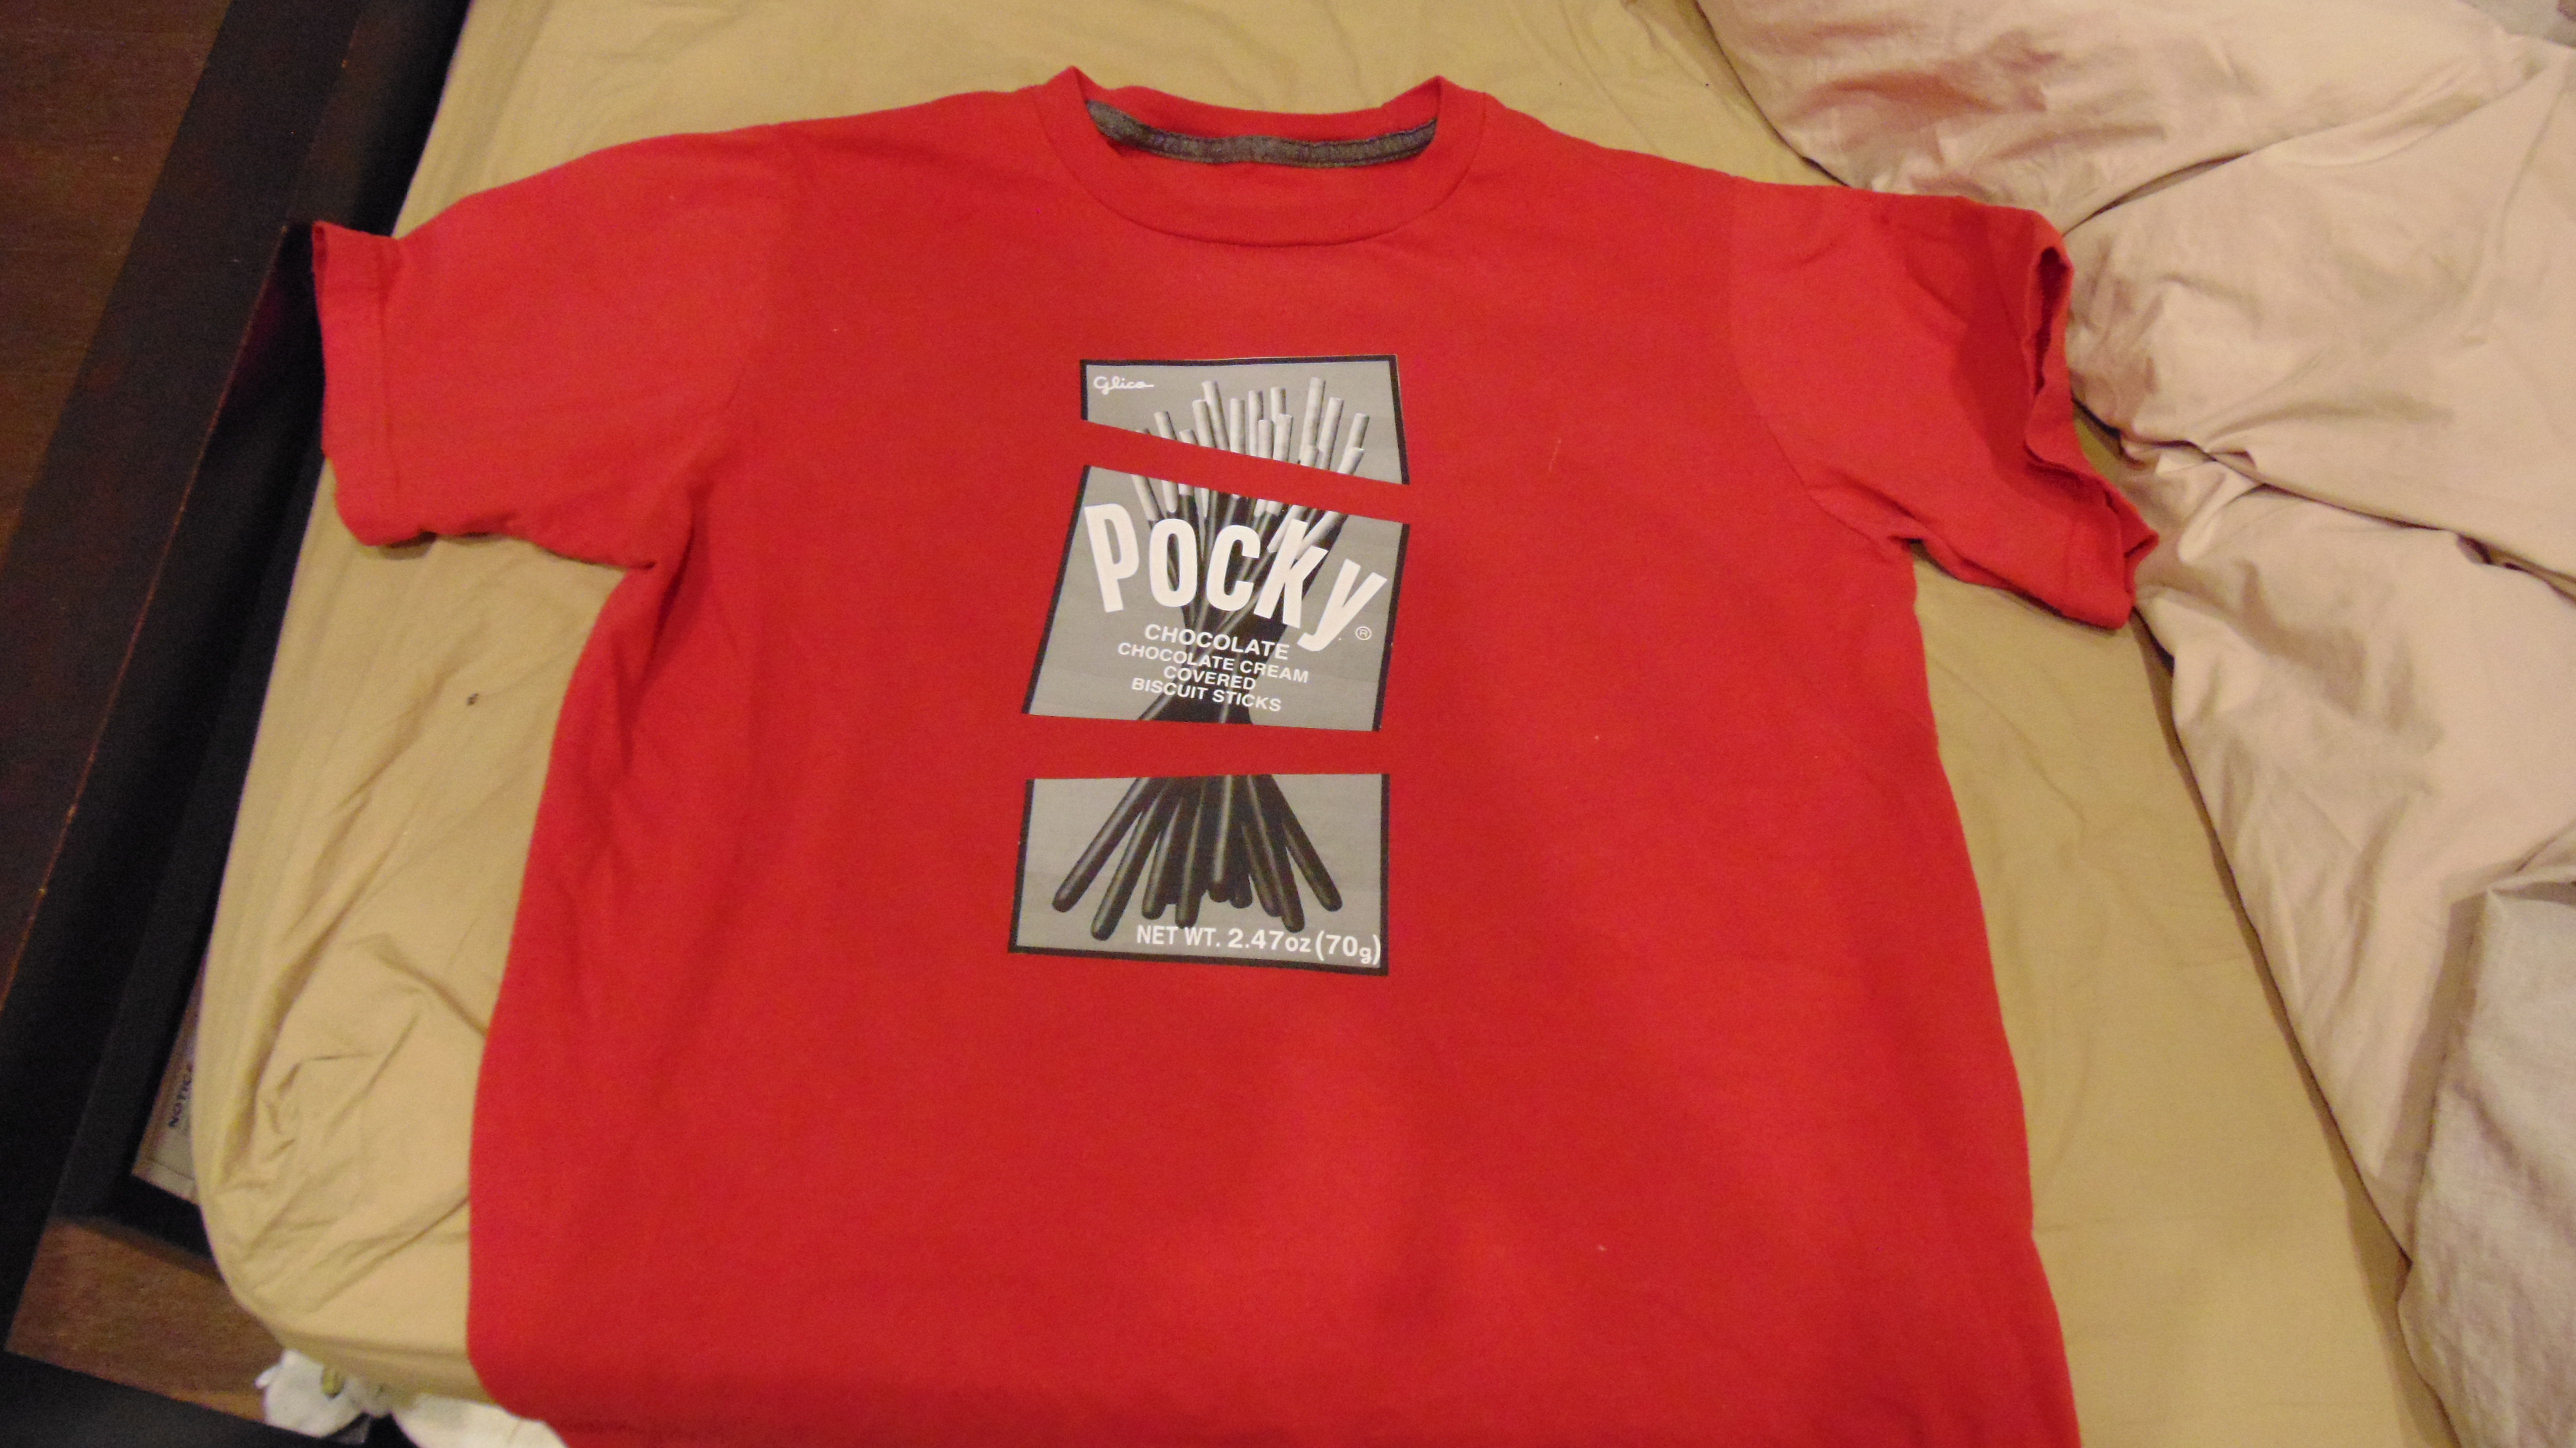
Using blank shirts, either old ones of your own, dollar store purchases, or thrift store bargains, is the best way to do it. Personally, I'm a big fan of using bright colors and brand logos, as it can make for a very amusing shirt. In fact, below, is my most recent shirt - the iconic Pocky brand chocolate-covered pretzel stick box on a red shirt.
As I was running a bit low on colored inks, and since I figured that adding more bright colors to an already colorful shirt might overdo it, I opted to use a grayscale image, which I'd then cut up to make it a bit more interesting.
First, I printed out the image on regular paper, opting to give everything a test-fit before I actually printed on the rather expensive transfer paper (relative to the cheap copy paper I use for day-to-day projects and papercrafts.)
I realized that it'd be an interesting design if I sliced the box into "pieces" and then spaced them out, while getting rid of a few other pieces, which made a fairly interesting optical illusion.
In my opinion, it's rather aesthetically pleasing.
After coming up with a final design, I'd printed the image on the transfer sheet - cutting it up to resemble the original design, and arranging everything on the shirt.
After heating the iron up, and adding a sheet of wax paper between the print and iron, heat is applied for a few minutes, going over every part of the design. Emphasis must be placed on ensuring there is plenty of heat applied to the corners, or any sharp edges in the design, as that is where the print peels up first.
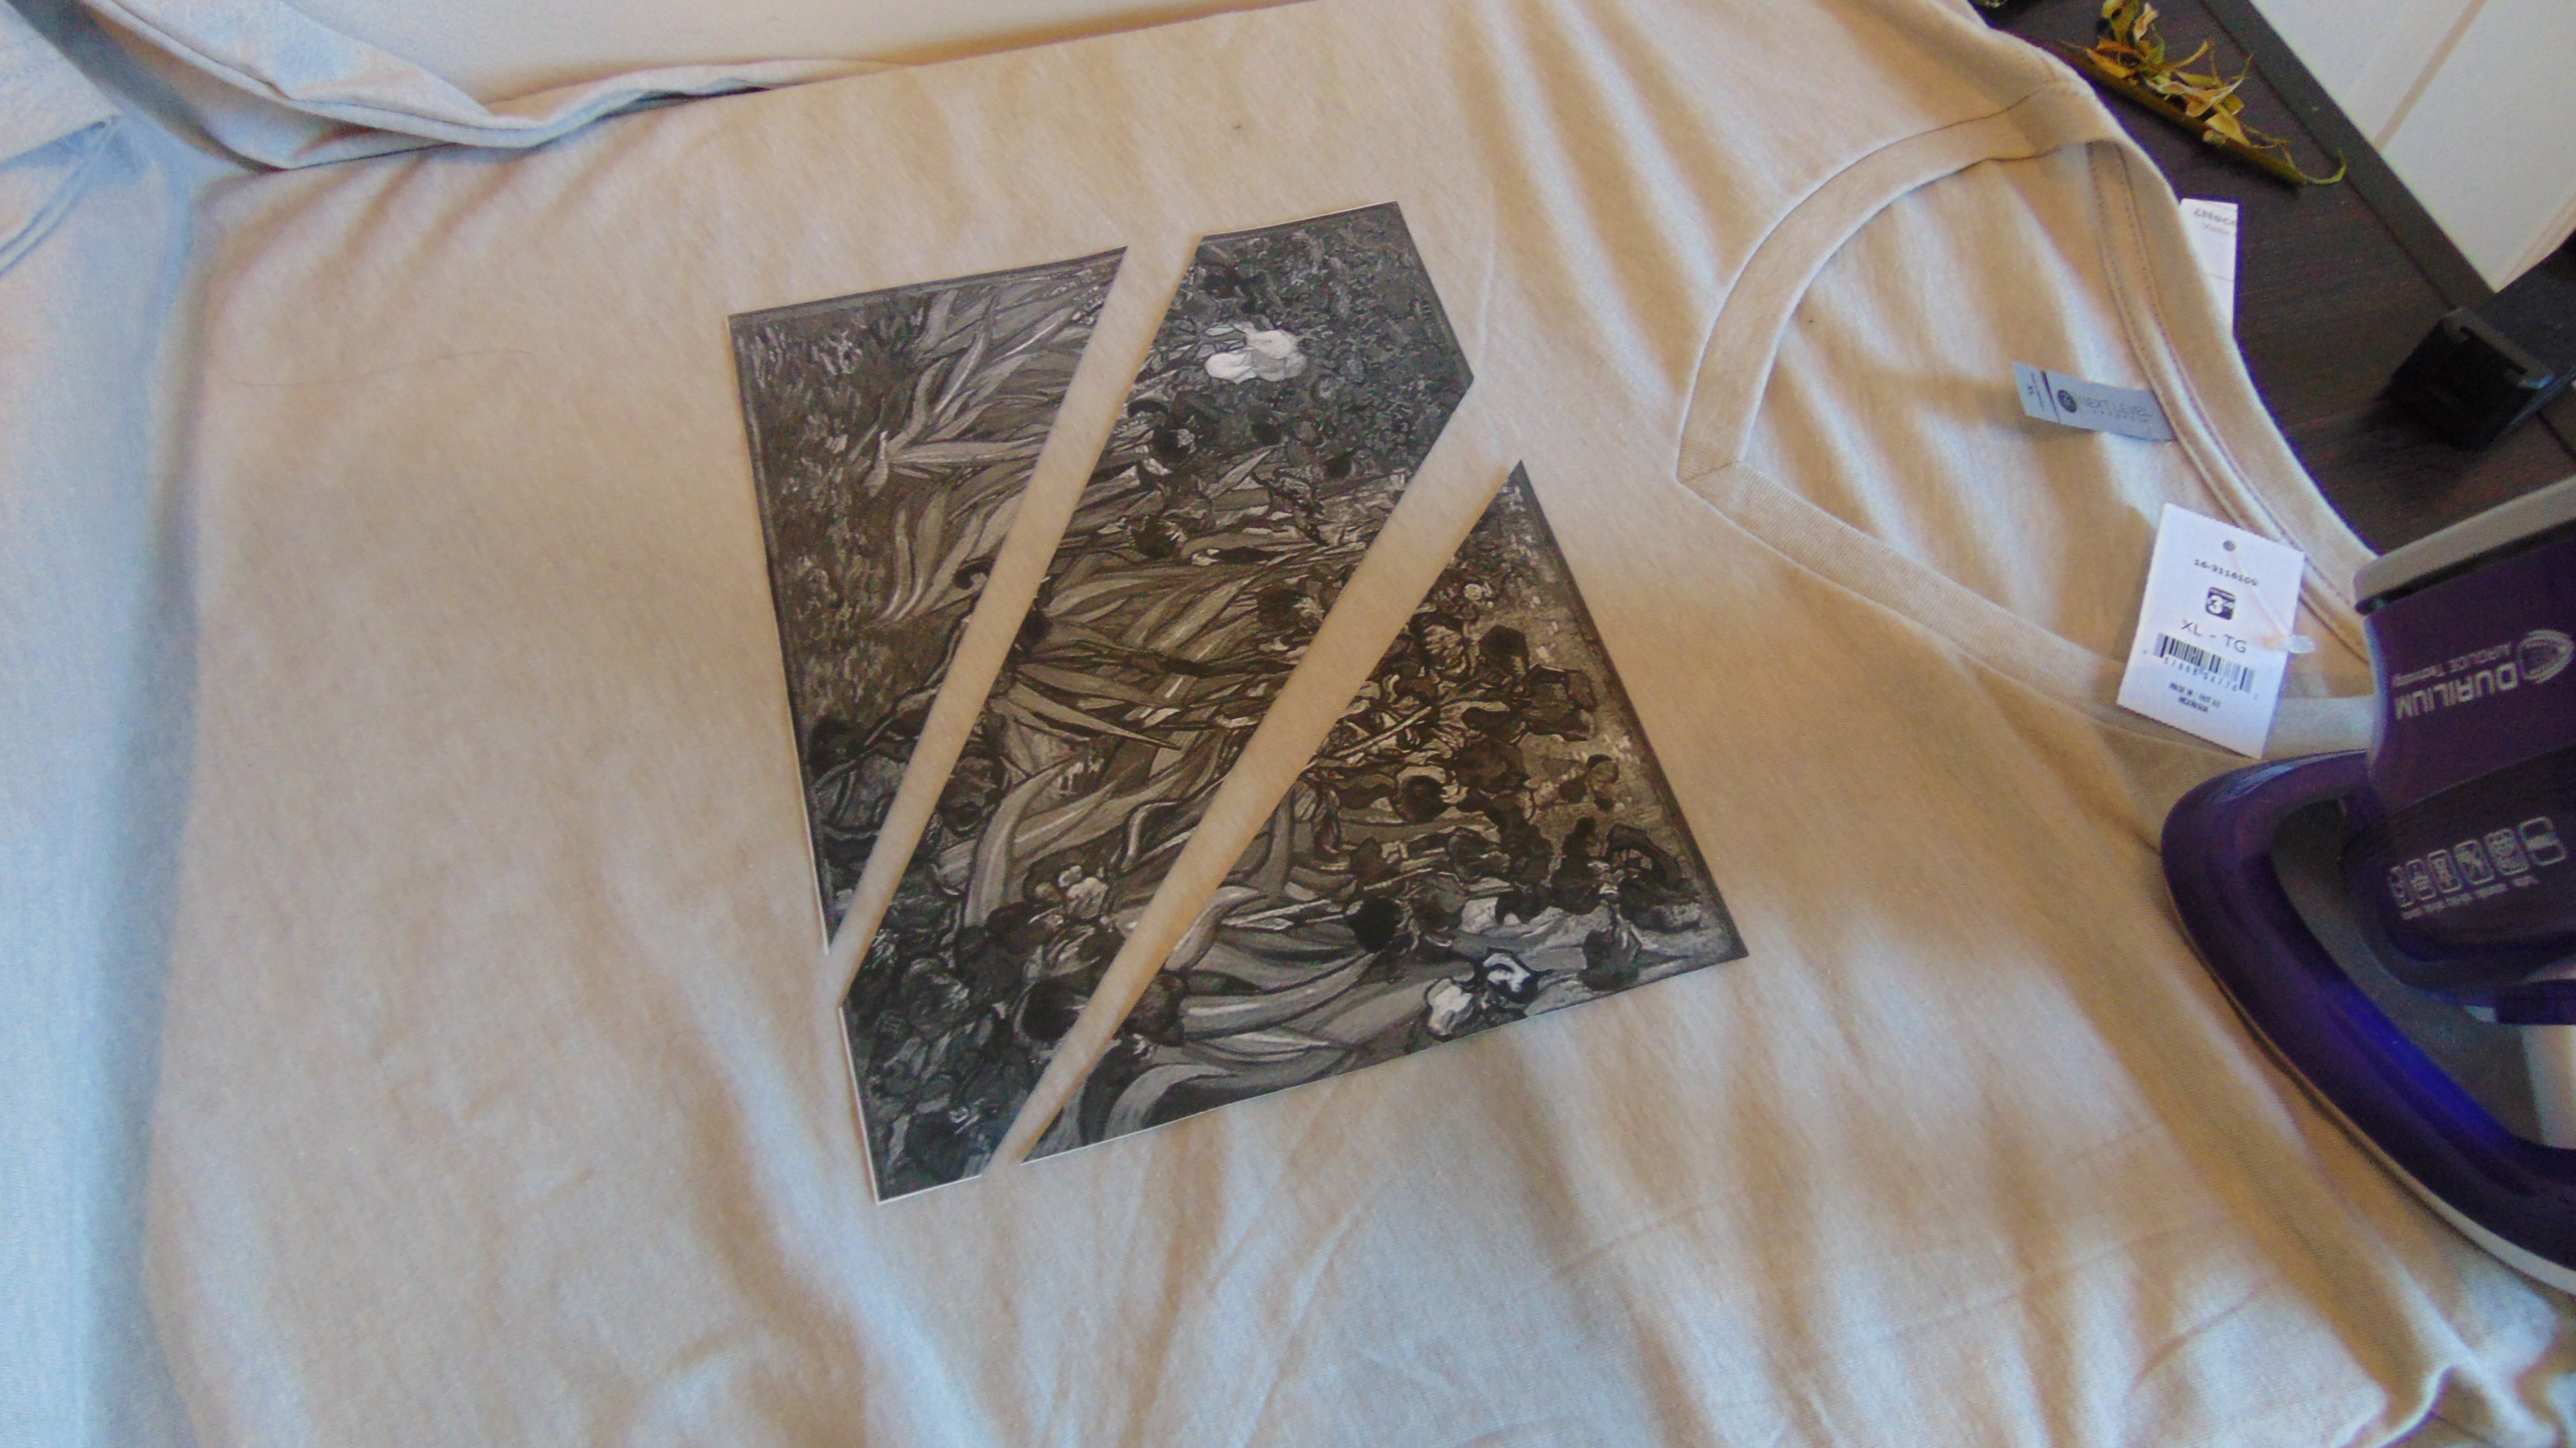
Another design I went with was the beautiful piece "Irises" by Van Gogh. Hopefully, he wouldn't mind the visual choice I'd made with removing a few slices, as I thought it'd break up the piece a little, and help it "flow" better with the shirt.